
Raw footage in. Finished video out.
One edit, start to finish, in one app. Follow a sample project through six stops on the timeline, with the keys you press at each one.
-
00:00
Import and organise
Drag in camera cards, phone clips and music. Bins keep 38 clips findable. Coming from another editor? Open its XML, EDL or AAF.
⌘I ImportSpace Preview
ExampleAbout 15 minutes to bin and label 38 clips.
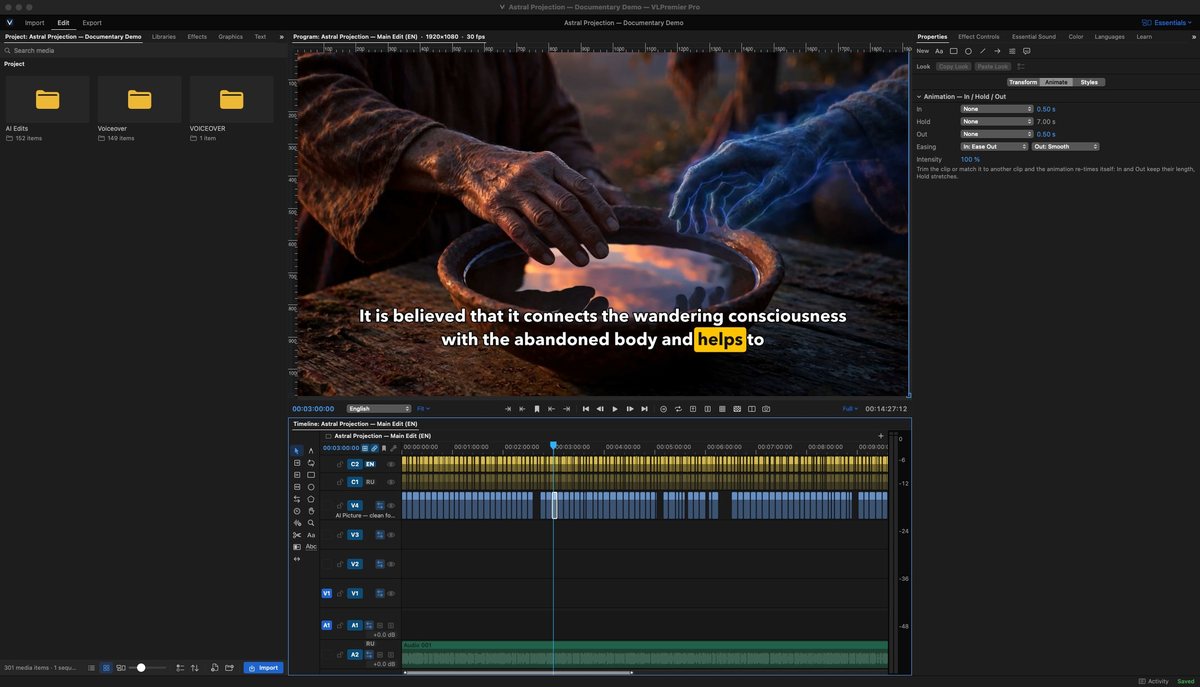
Essentials workspace: the Project panel down the left, a large picture over the timeline. -
00:12
Rough cut, then tighten
Mark the good parts and drop them in order. Ripple deletes close gaps as you go, and a J-cut is a drag on the audio edge.
IO Mark in, outC RazorJKL Shuttle
ExampleThe first assembly of the 12-minute episode took one afternoon.
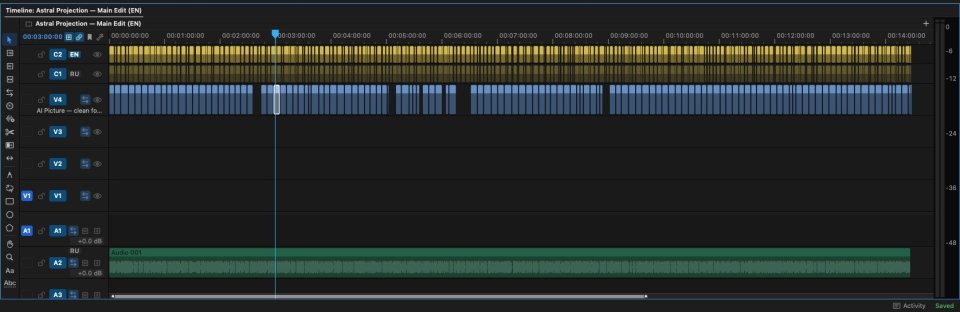
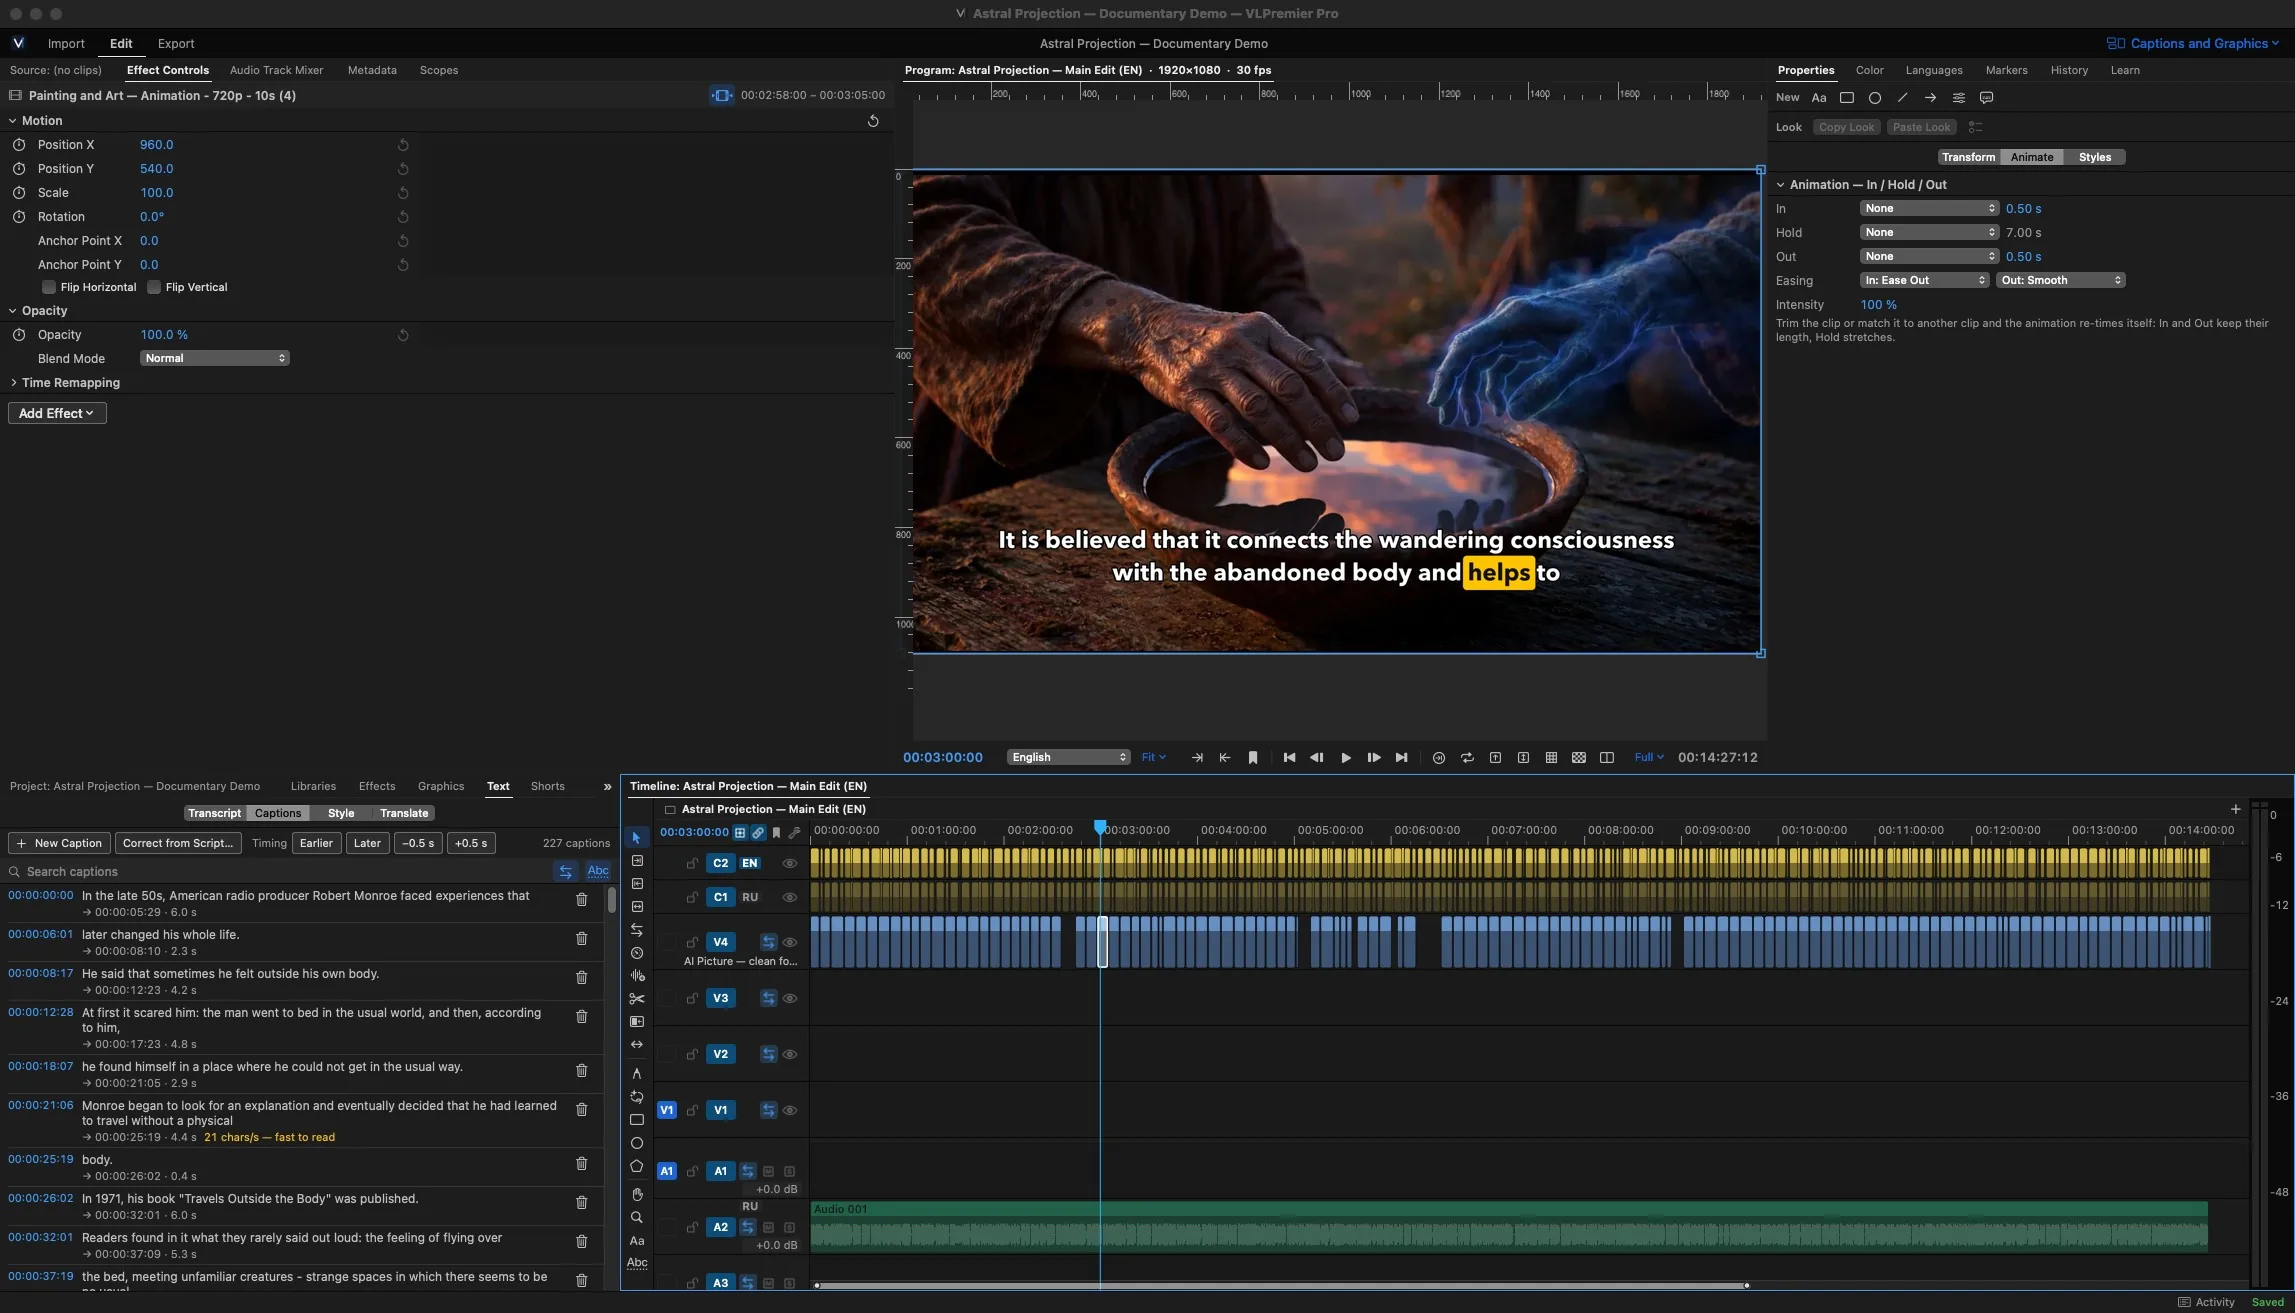
The timeline: caption tracks C1 and C2 above the picture, narration on A2. -
00:31
Caption it
Get a transcript, fix names and numbers like a document, choose a look. Export SRT or VTT for the upload page.
ExampleCorrecting 96 caption lines took about 20 minutes.
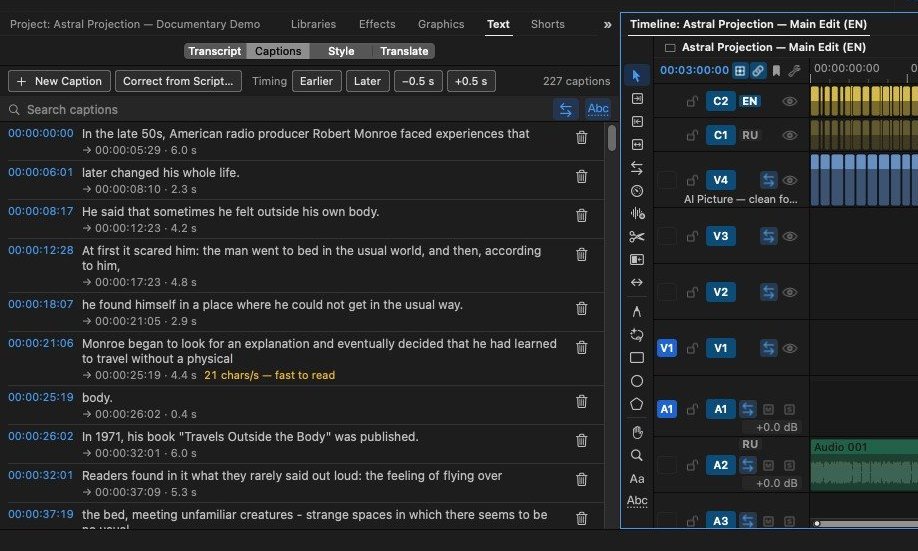
Captions tab: each line with its timing. A reading-speed warning flags lines that are too fast. -
00:48
Grade and mix
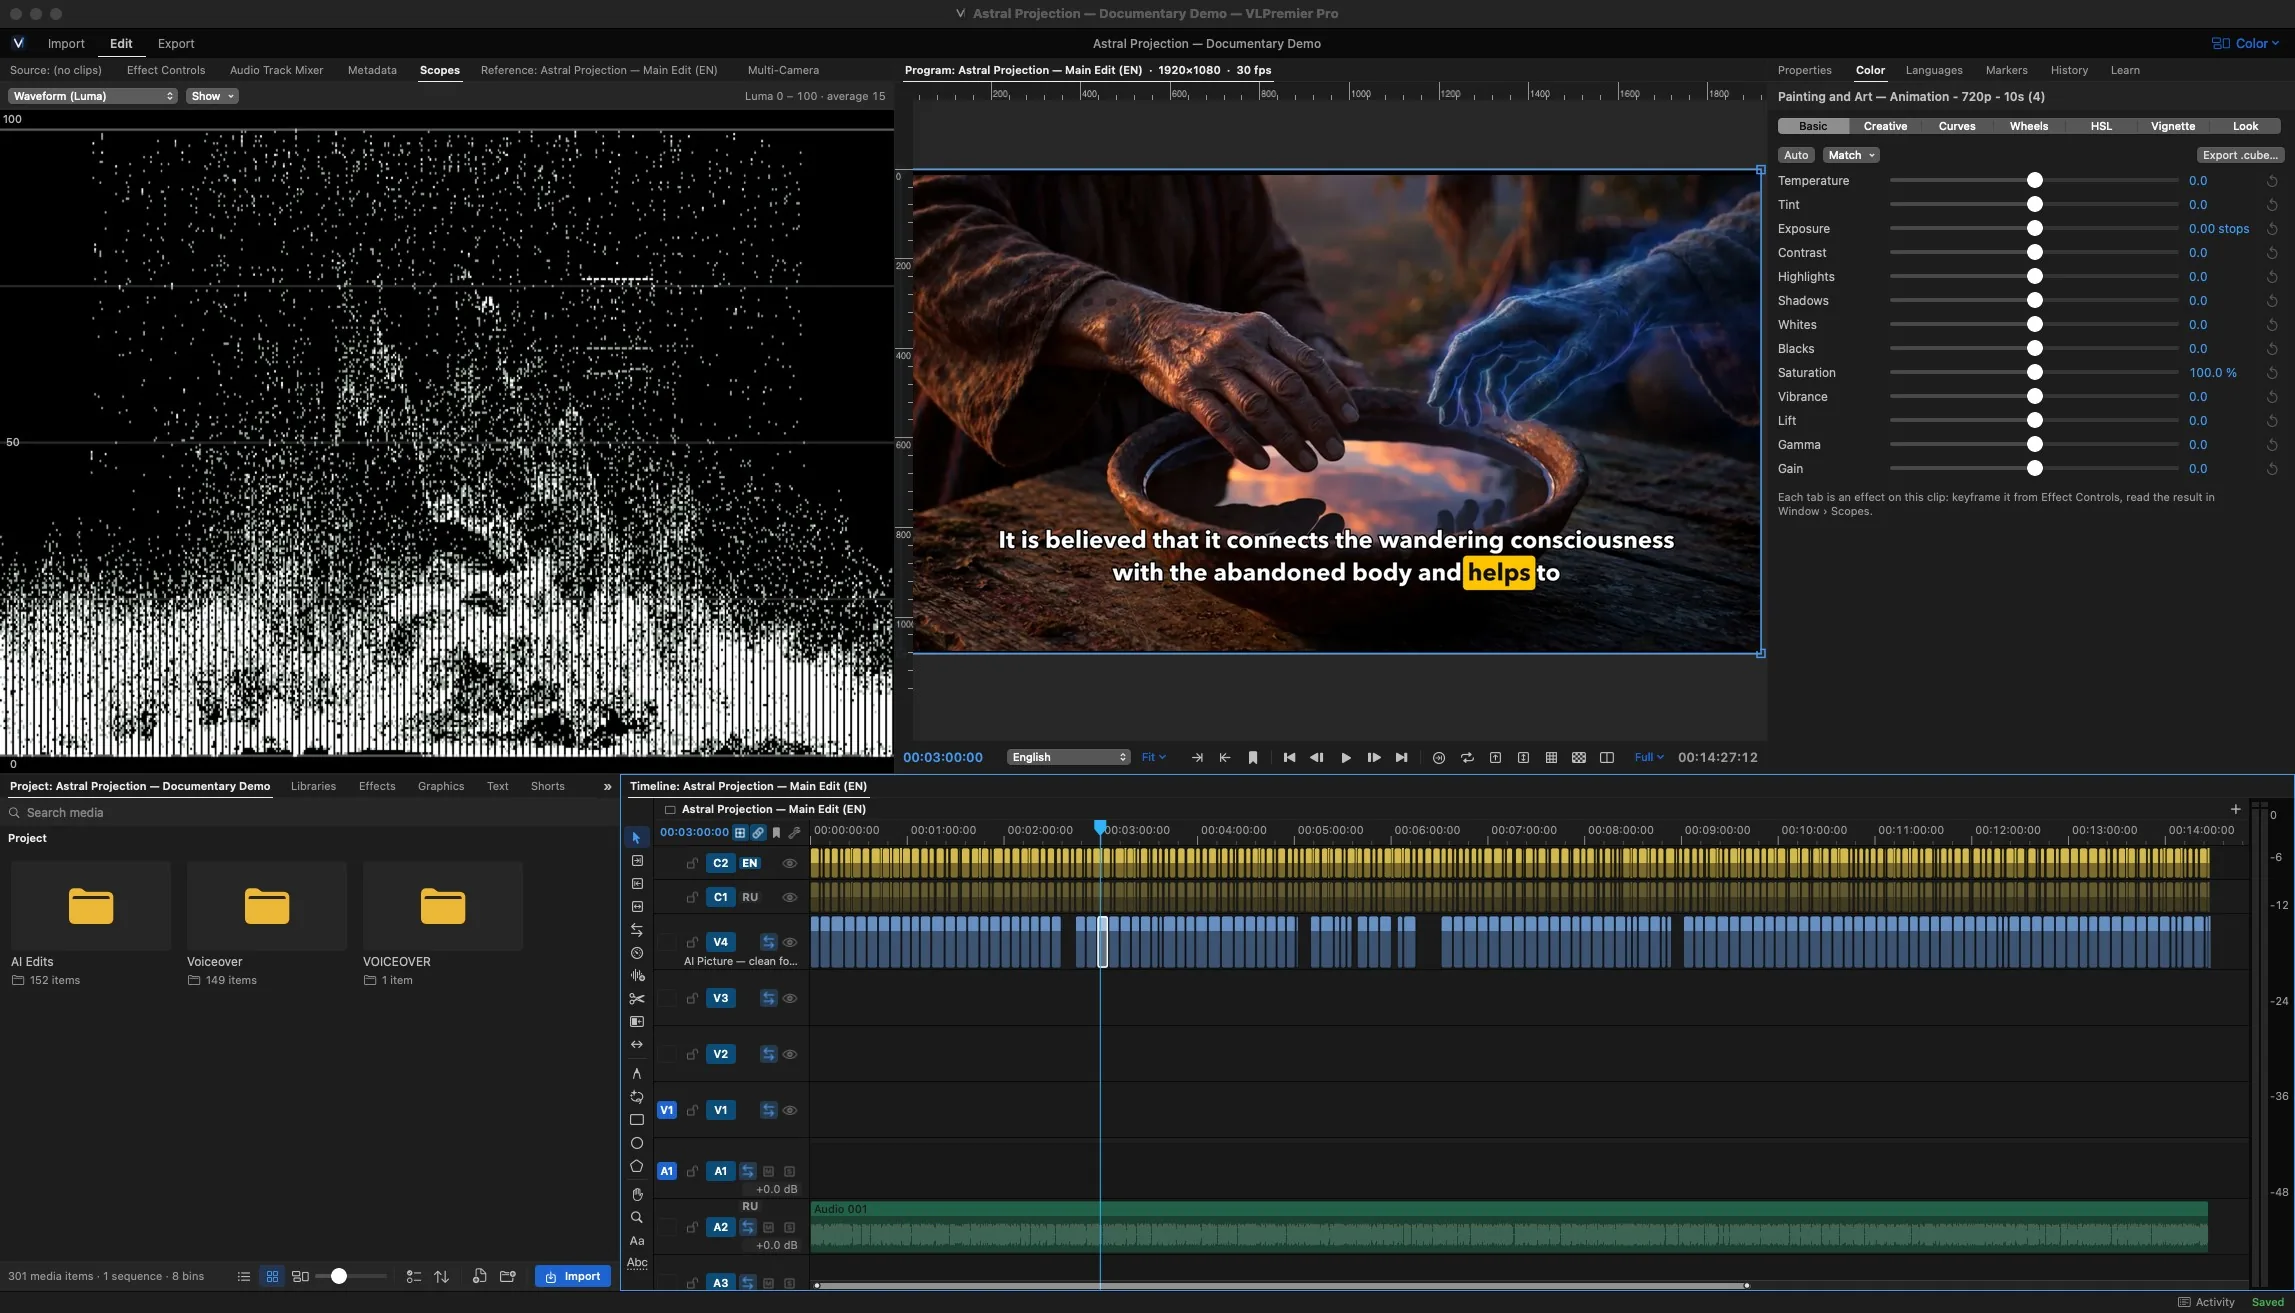
Match the two cameras with the Basic controls and a LUT, check the scopes, then mix against -14 LUFS so the upload doesn't land quiet.
ExampleMatching the A and B cameras took about 40 minutes.
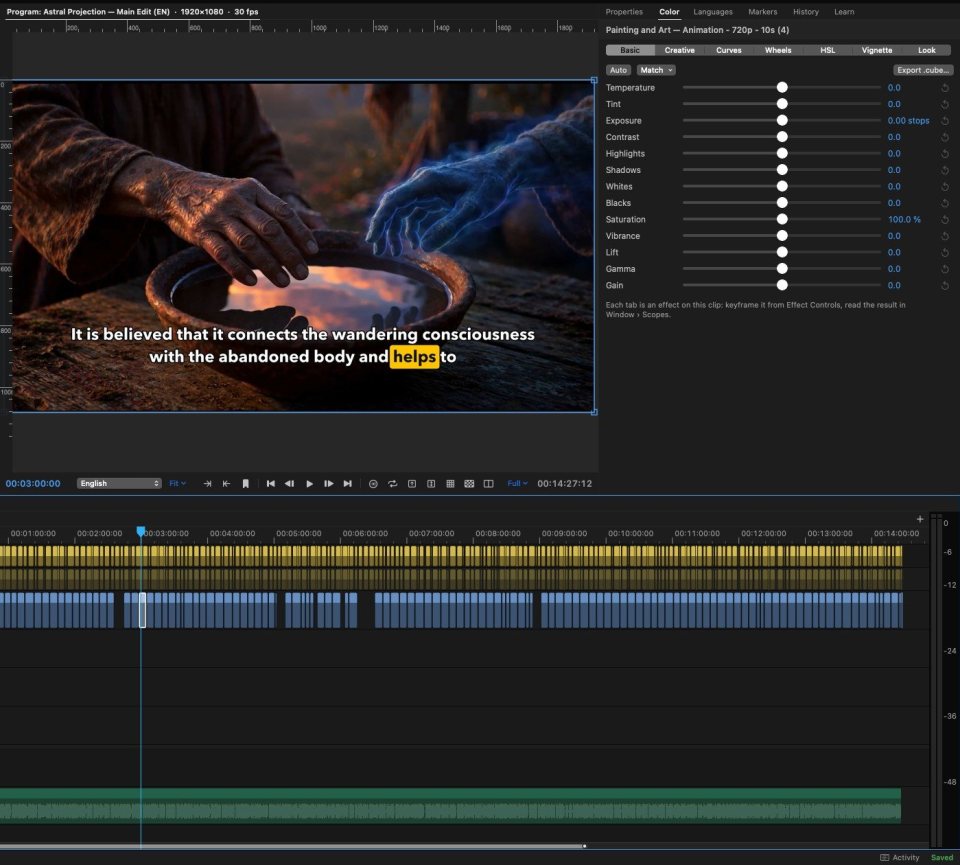
Color: grade against the frame with the Basic, Curves, Wheels and Look tabs. -
01:05
Pull the Shorts
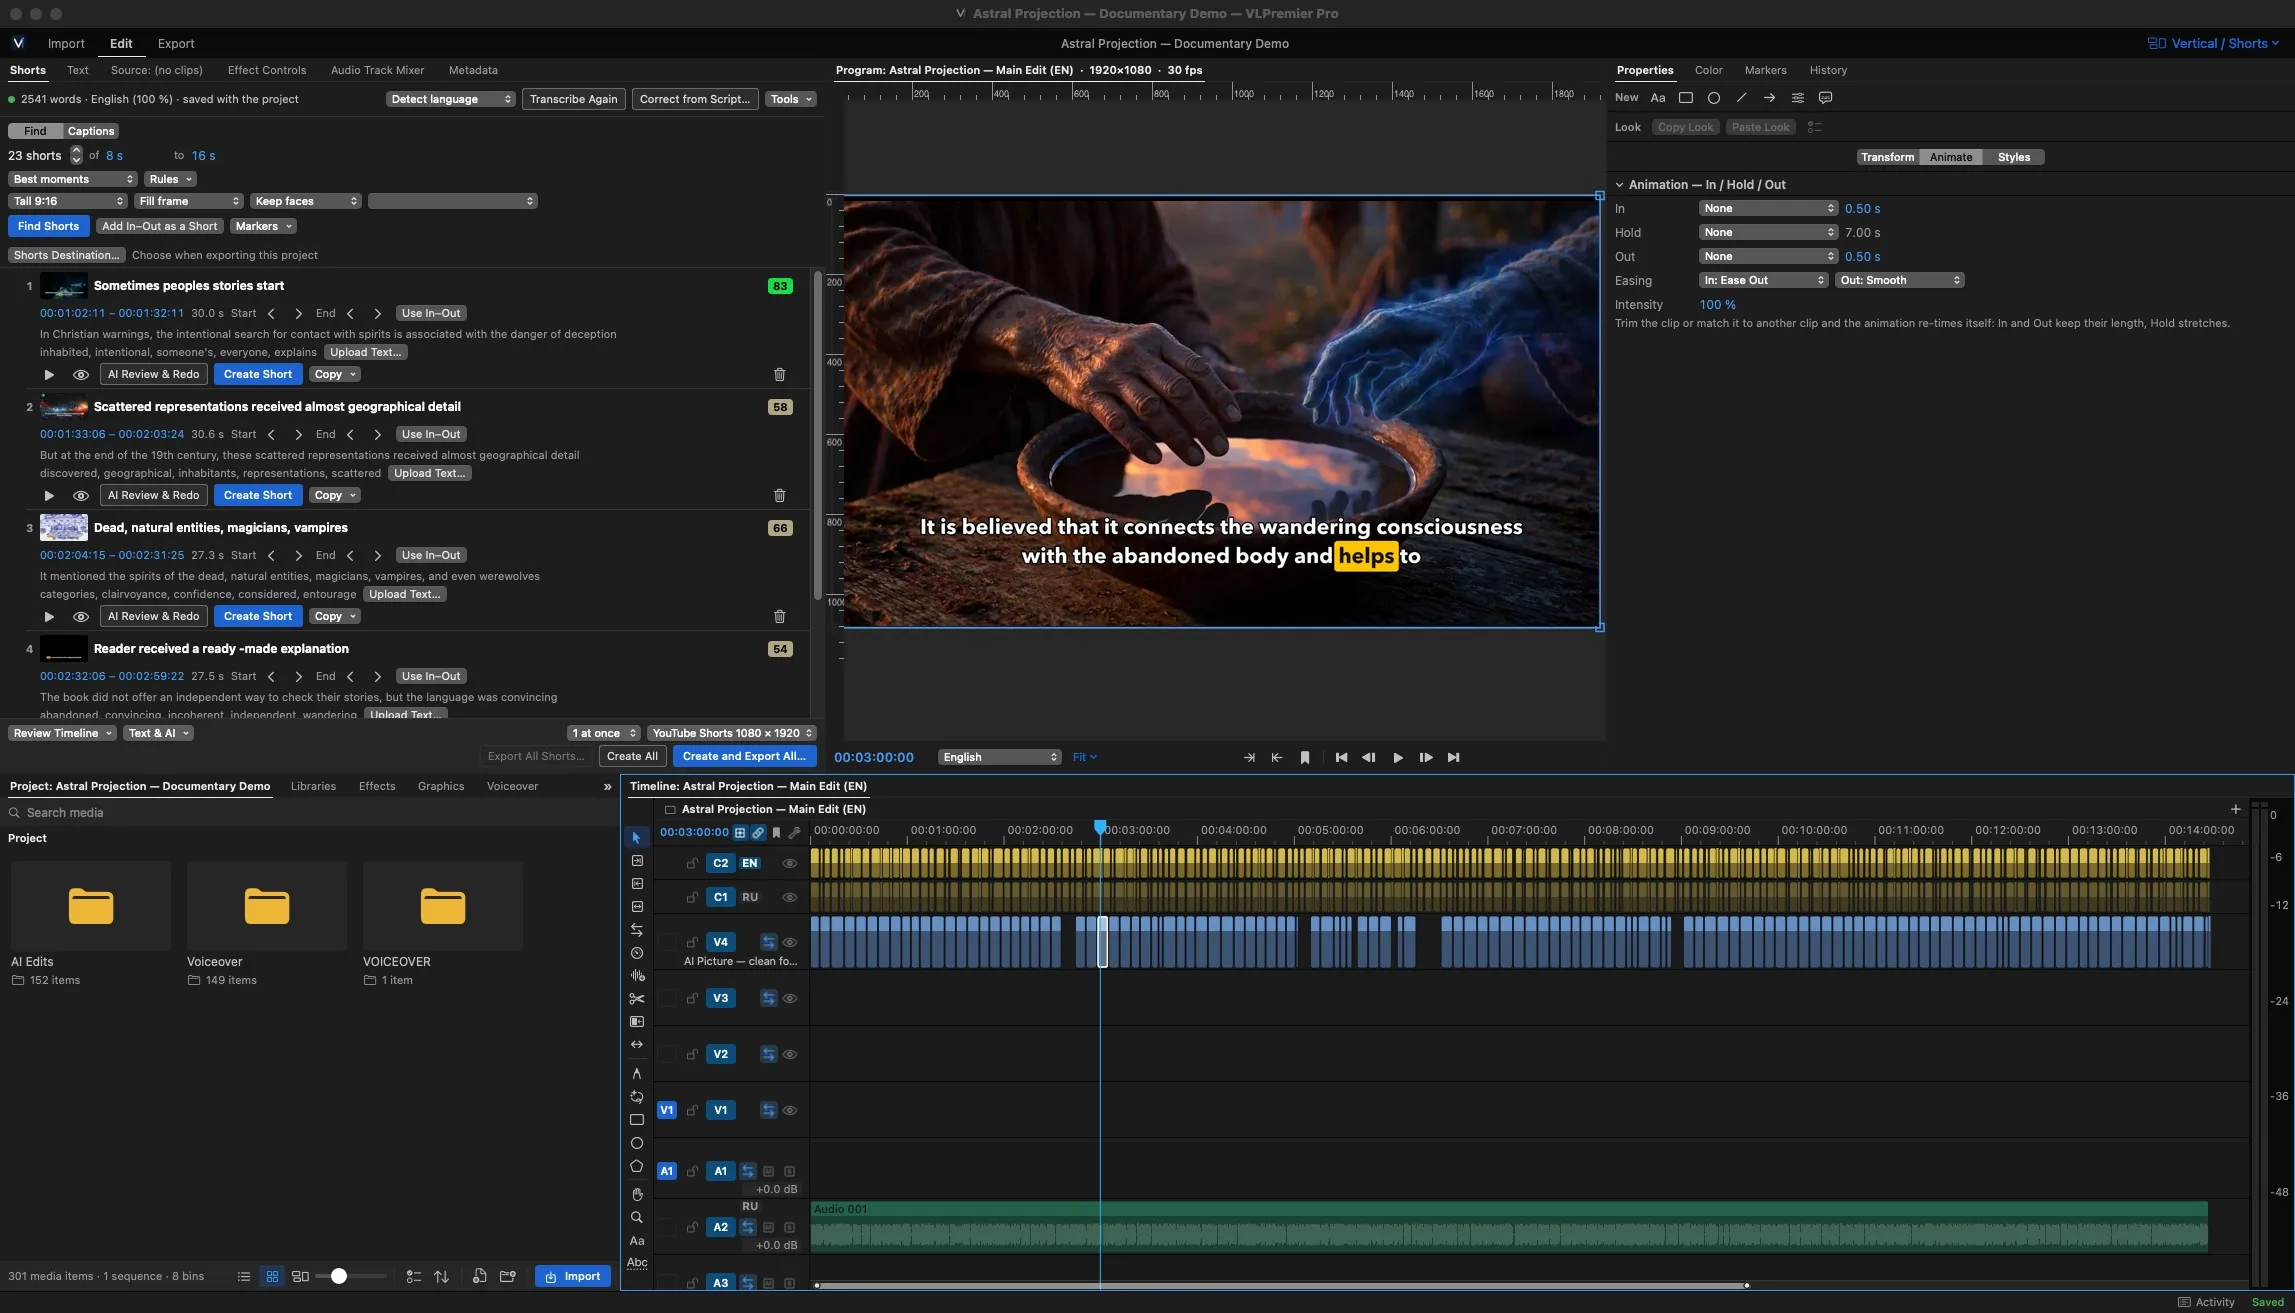
Find Shorts scores the strongest moments. Auto reframe keeps the subject in a 9:16 frame, and safe zones show where the platform's buttons will sit.
M Add marker
ExampleReviewing and adjusting three Shorts took about 25 minutes.
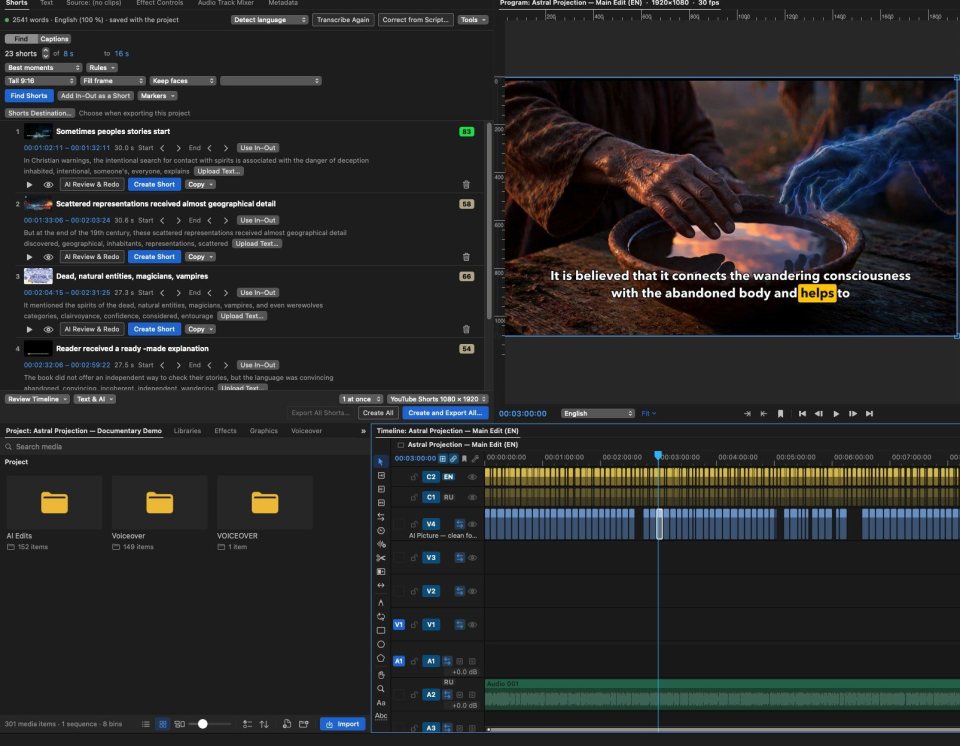
Find Shorts: each candidate has a score, a title, its text and a Create Short button. -
01:18
Export and prep the upload
Queue the 4K HEVC file, the ProRes master and the Shorts. Write chapters and upload text while it renders, then upload to YouTube yourself.
Honest noteRender time depends on your Mac, the length and the codec. Measured numbers will be published at release.
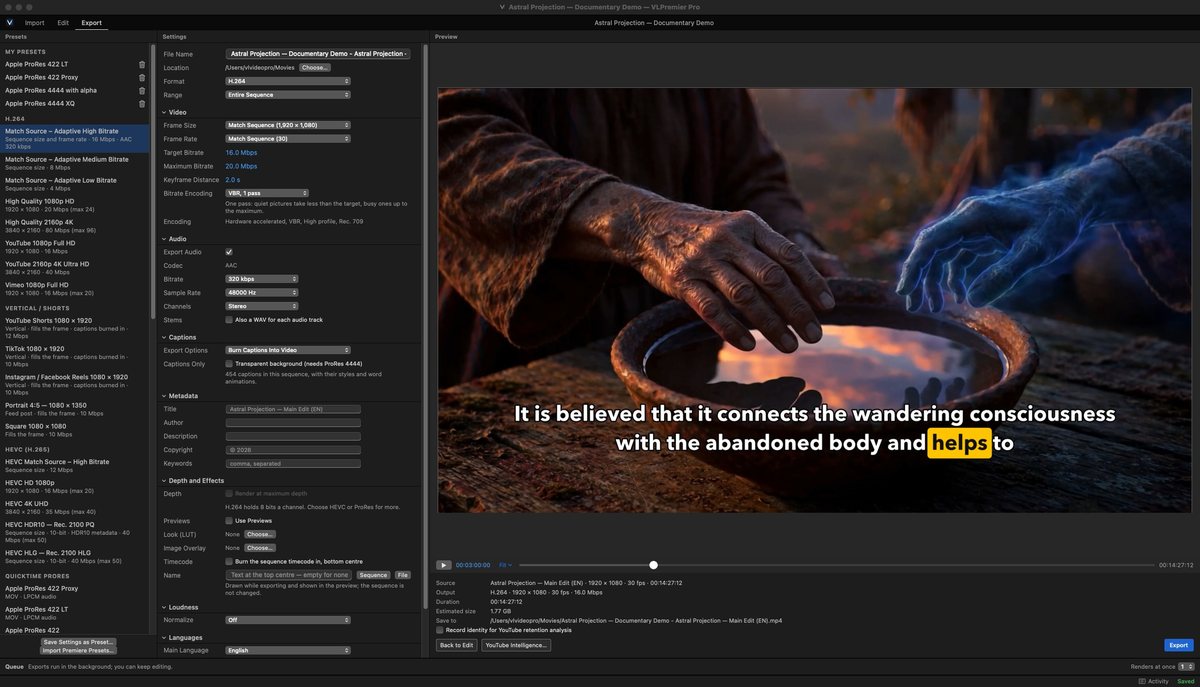
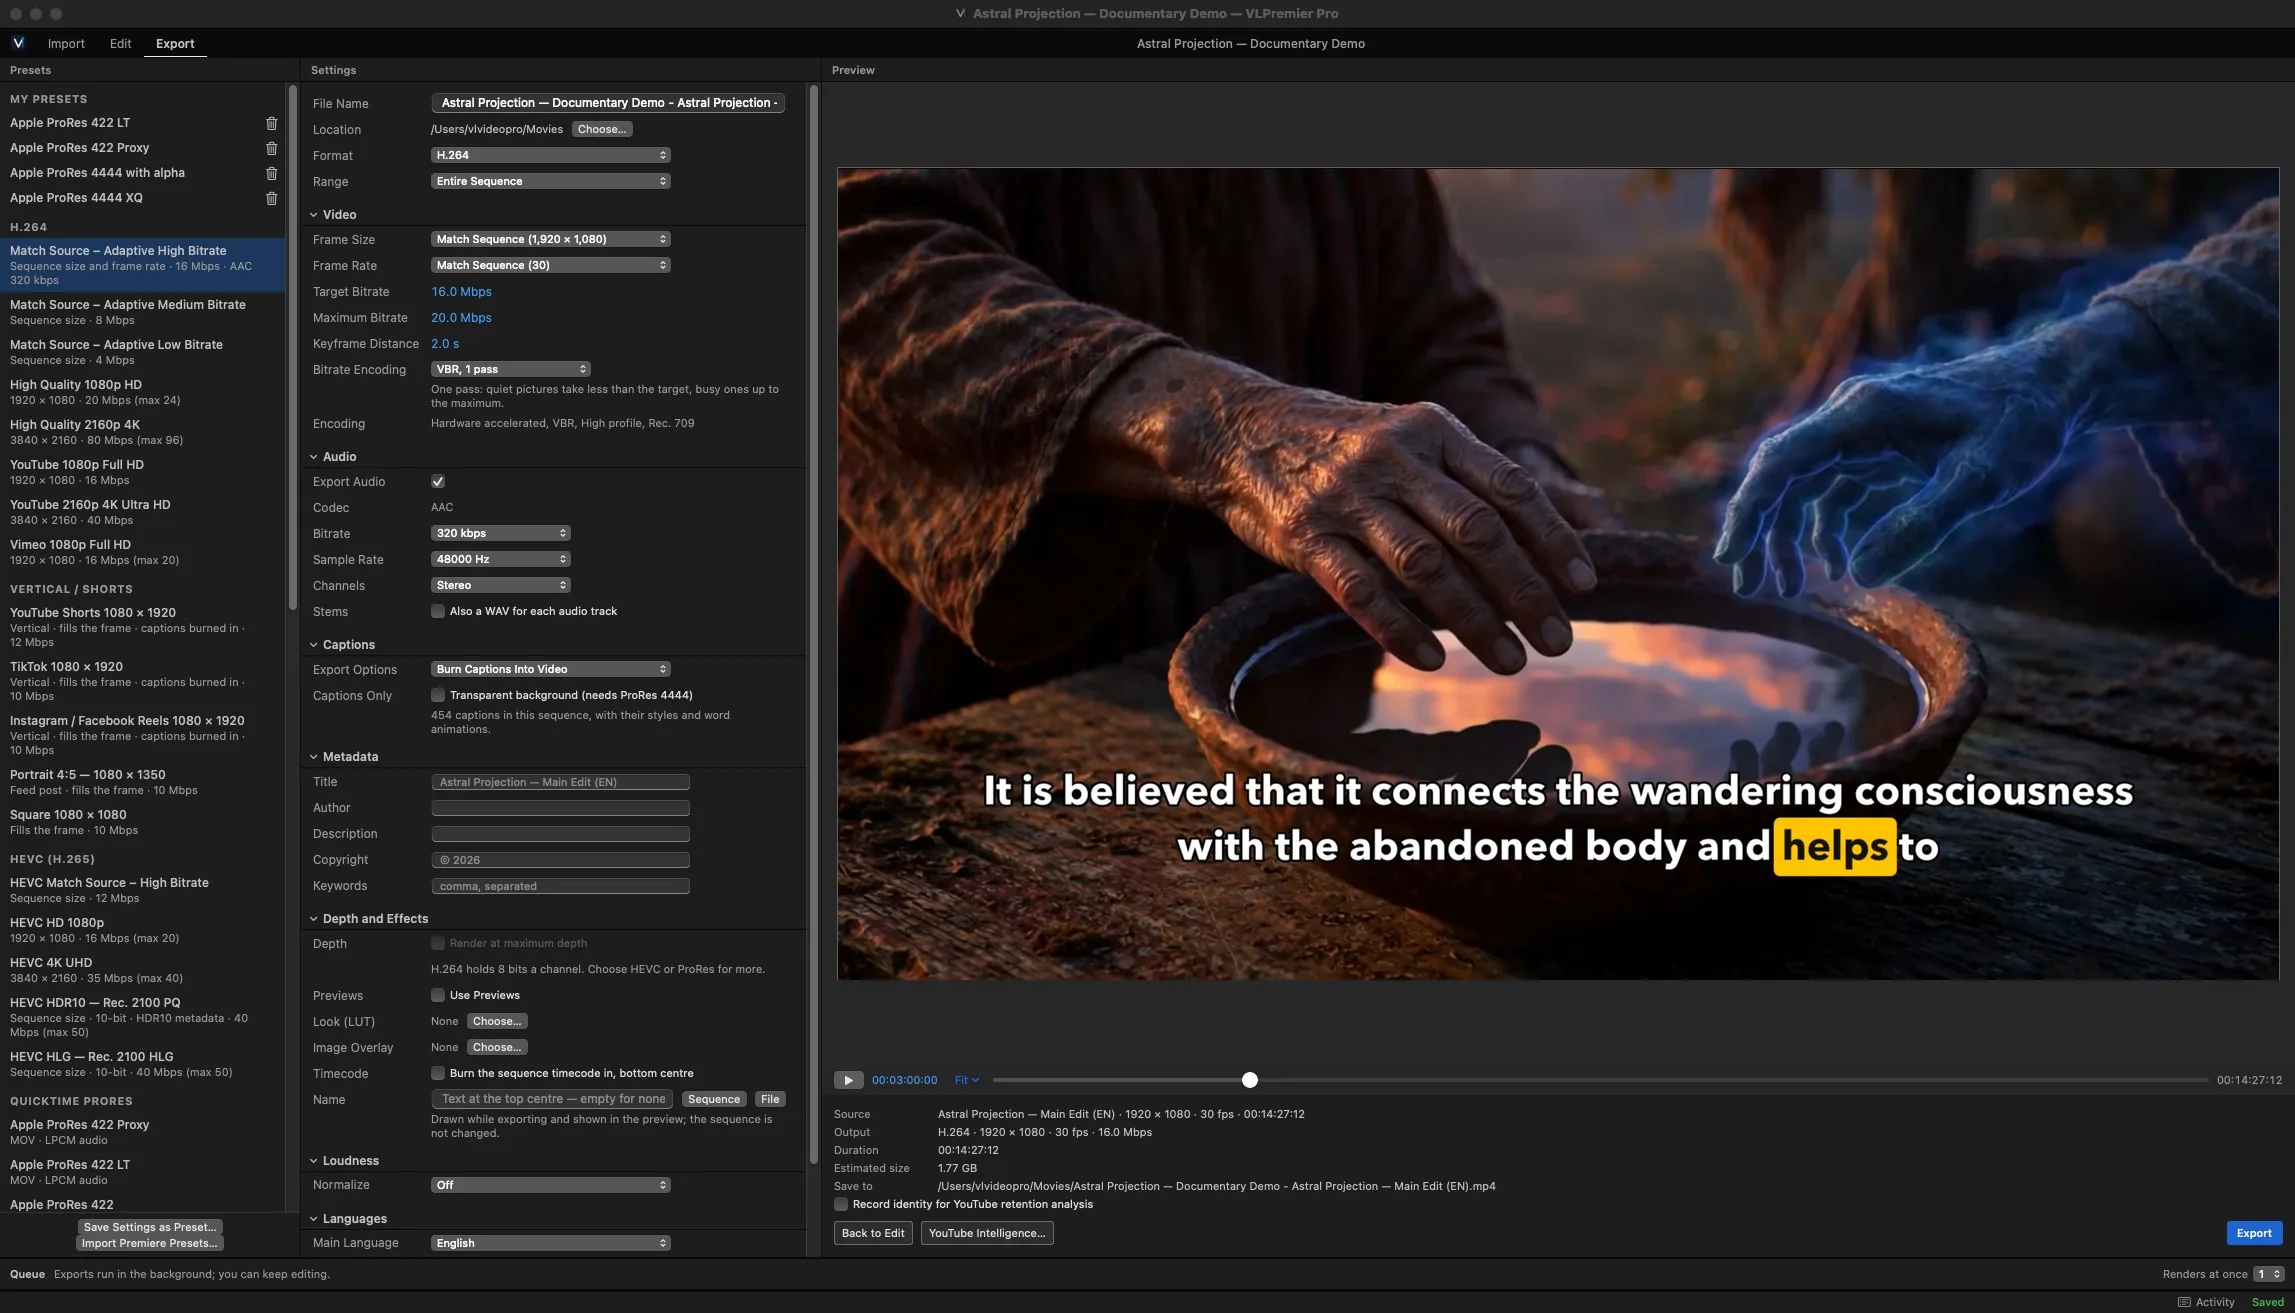
Export: platform presets, video, audio, caption and loudness settings, and a full-size preview.
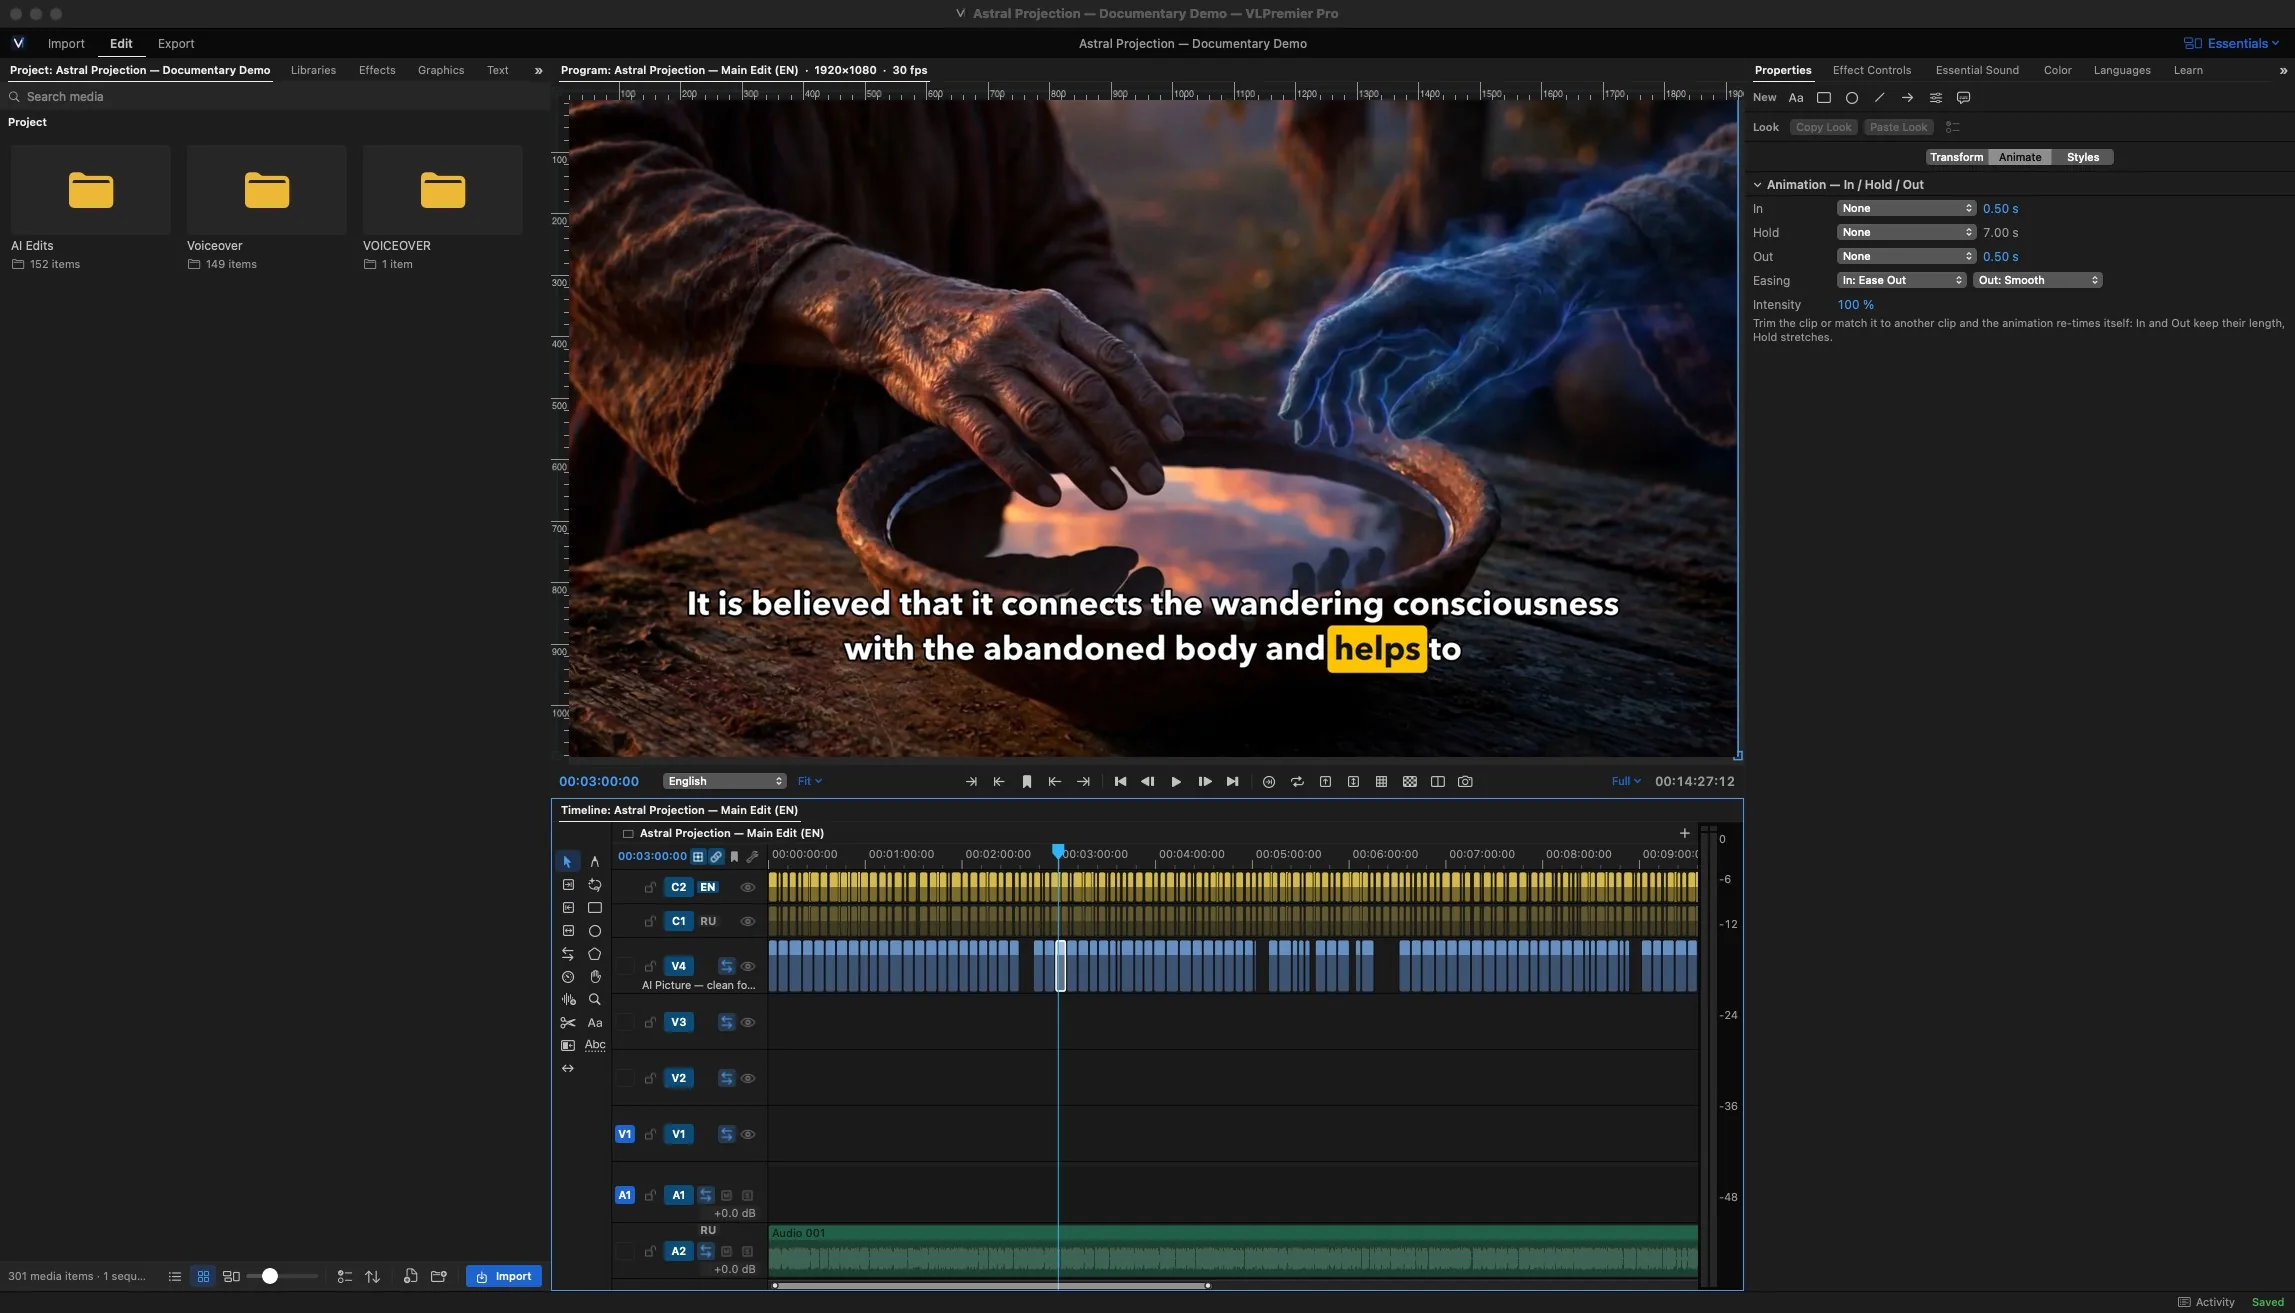
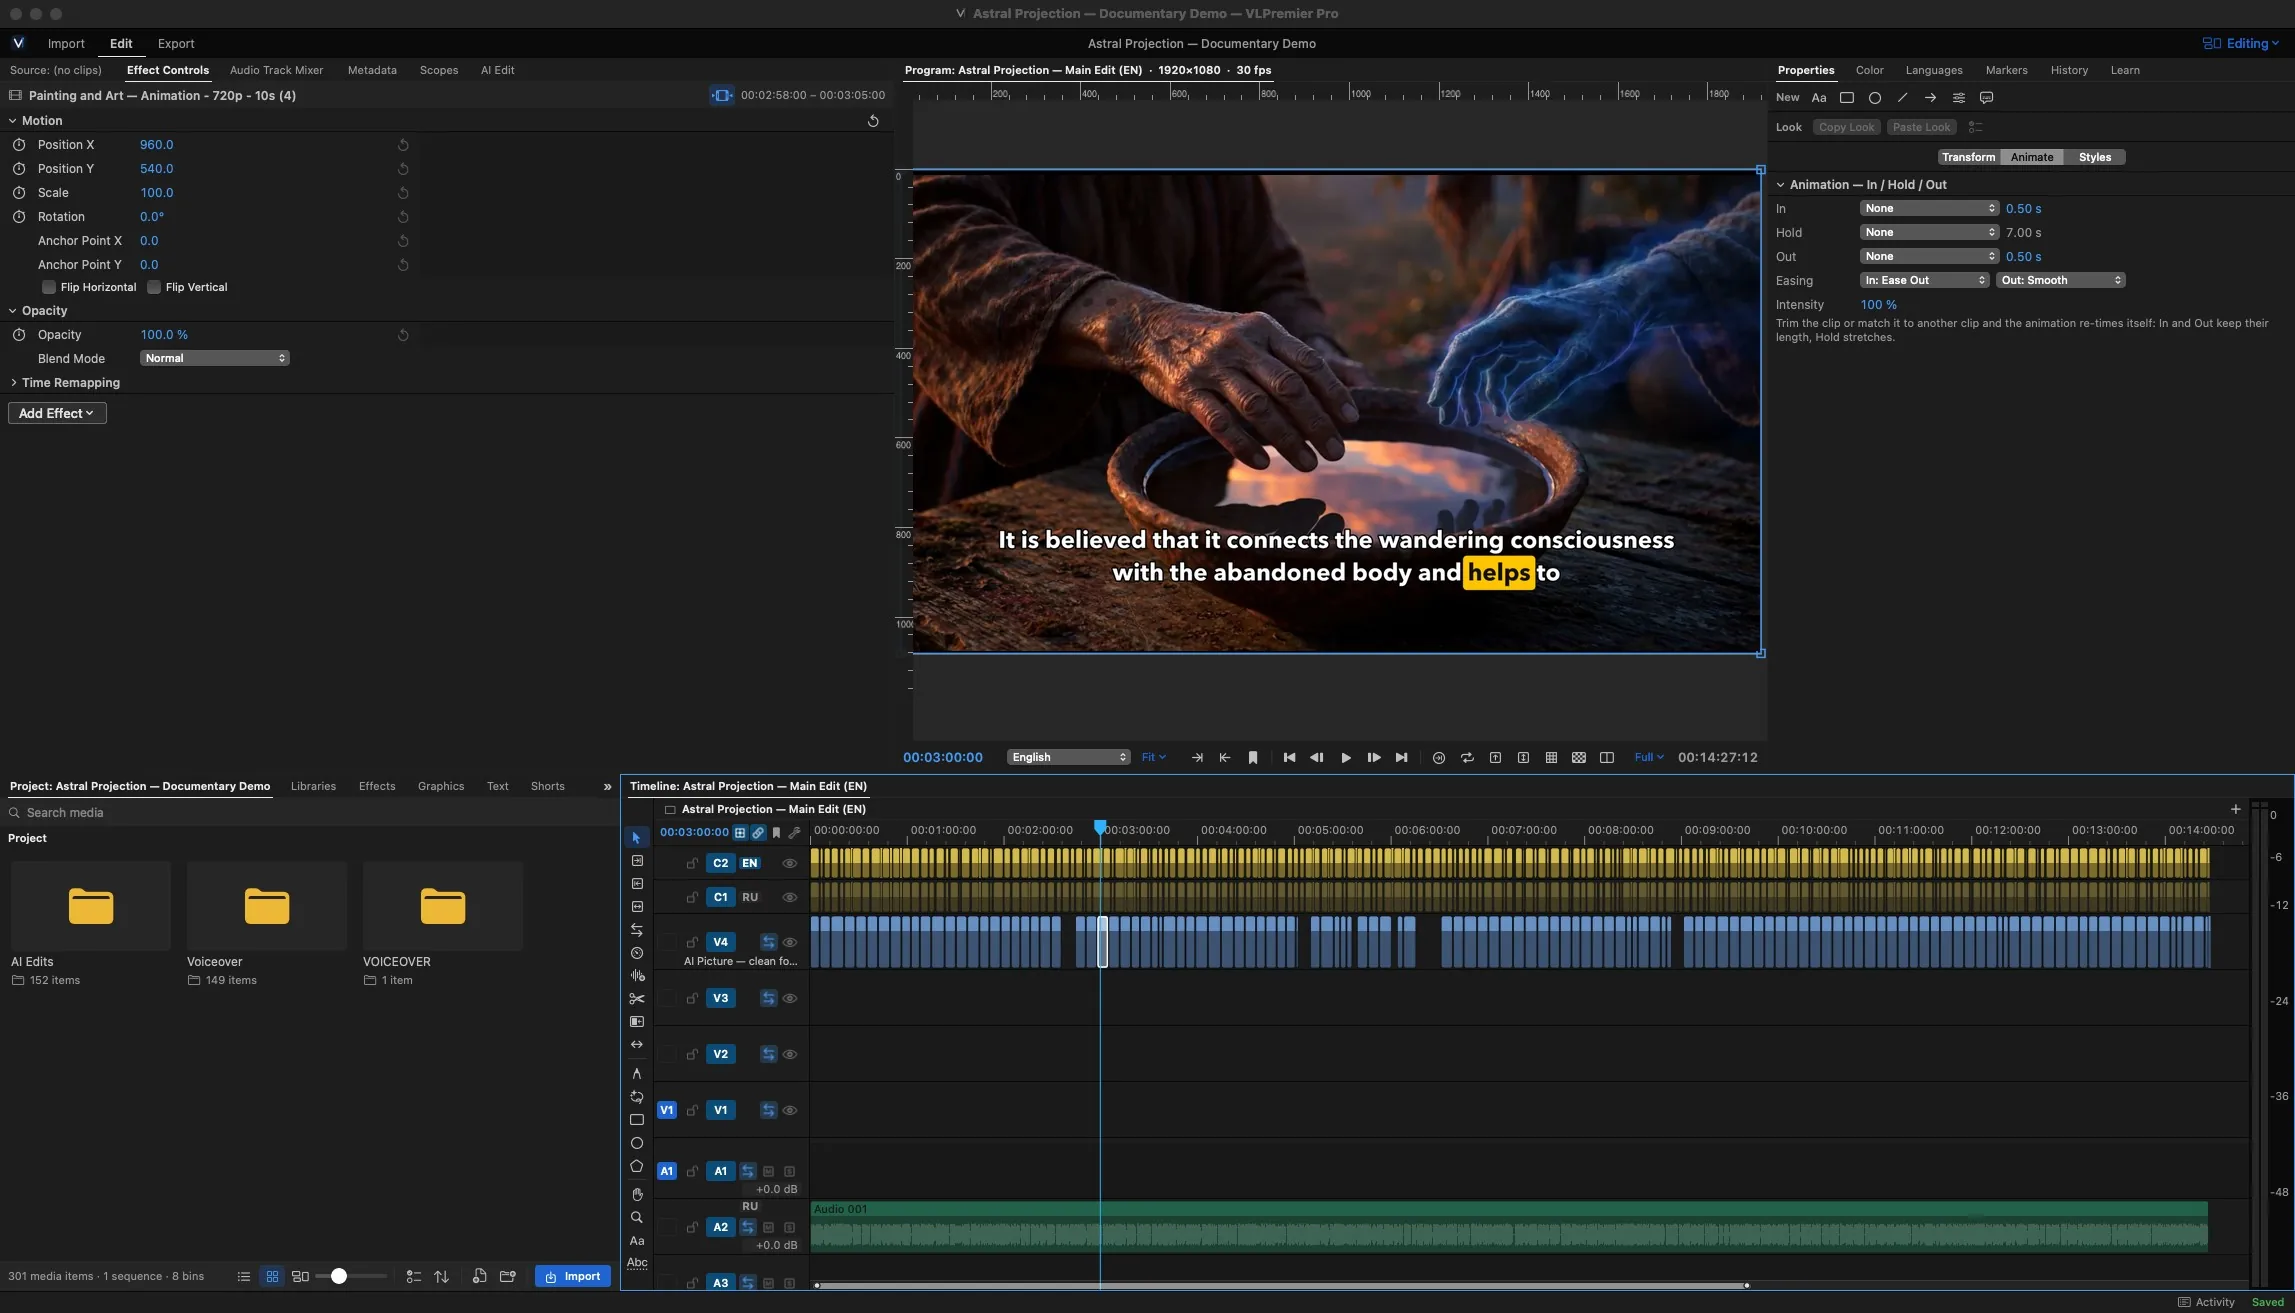
Default keys follow familiar pro editing workspaces. Every one can be changed in the Keyboard Shortcuts window.
Now run it on your own footage.
3 days with every Pro feature, no credit card. Prefer to watch first? Your first edit in 5 lessons